
Creating invoices in LEADSORBIT allows you to bill customers for products or services and collect payments online. Once your payment gateway is connected, you can create, send, and track invoices from one place.
Create and Send an Invoice
Follow these steps to create and send an invoice in LEADSORBIT.
- Navigate to Payments → Invoices & Estimates.
- Click New and select New Invoice.
- Search and select the customer you want to invoice.
- Add the products or services, quantity, pricing, and payment details.
- Review the invoice to make sure all the information is correct.
- Click Save.
- Click Send to send the invoice to the customer.
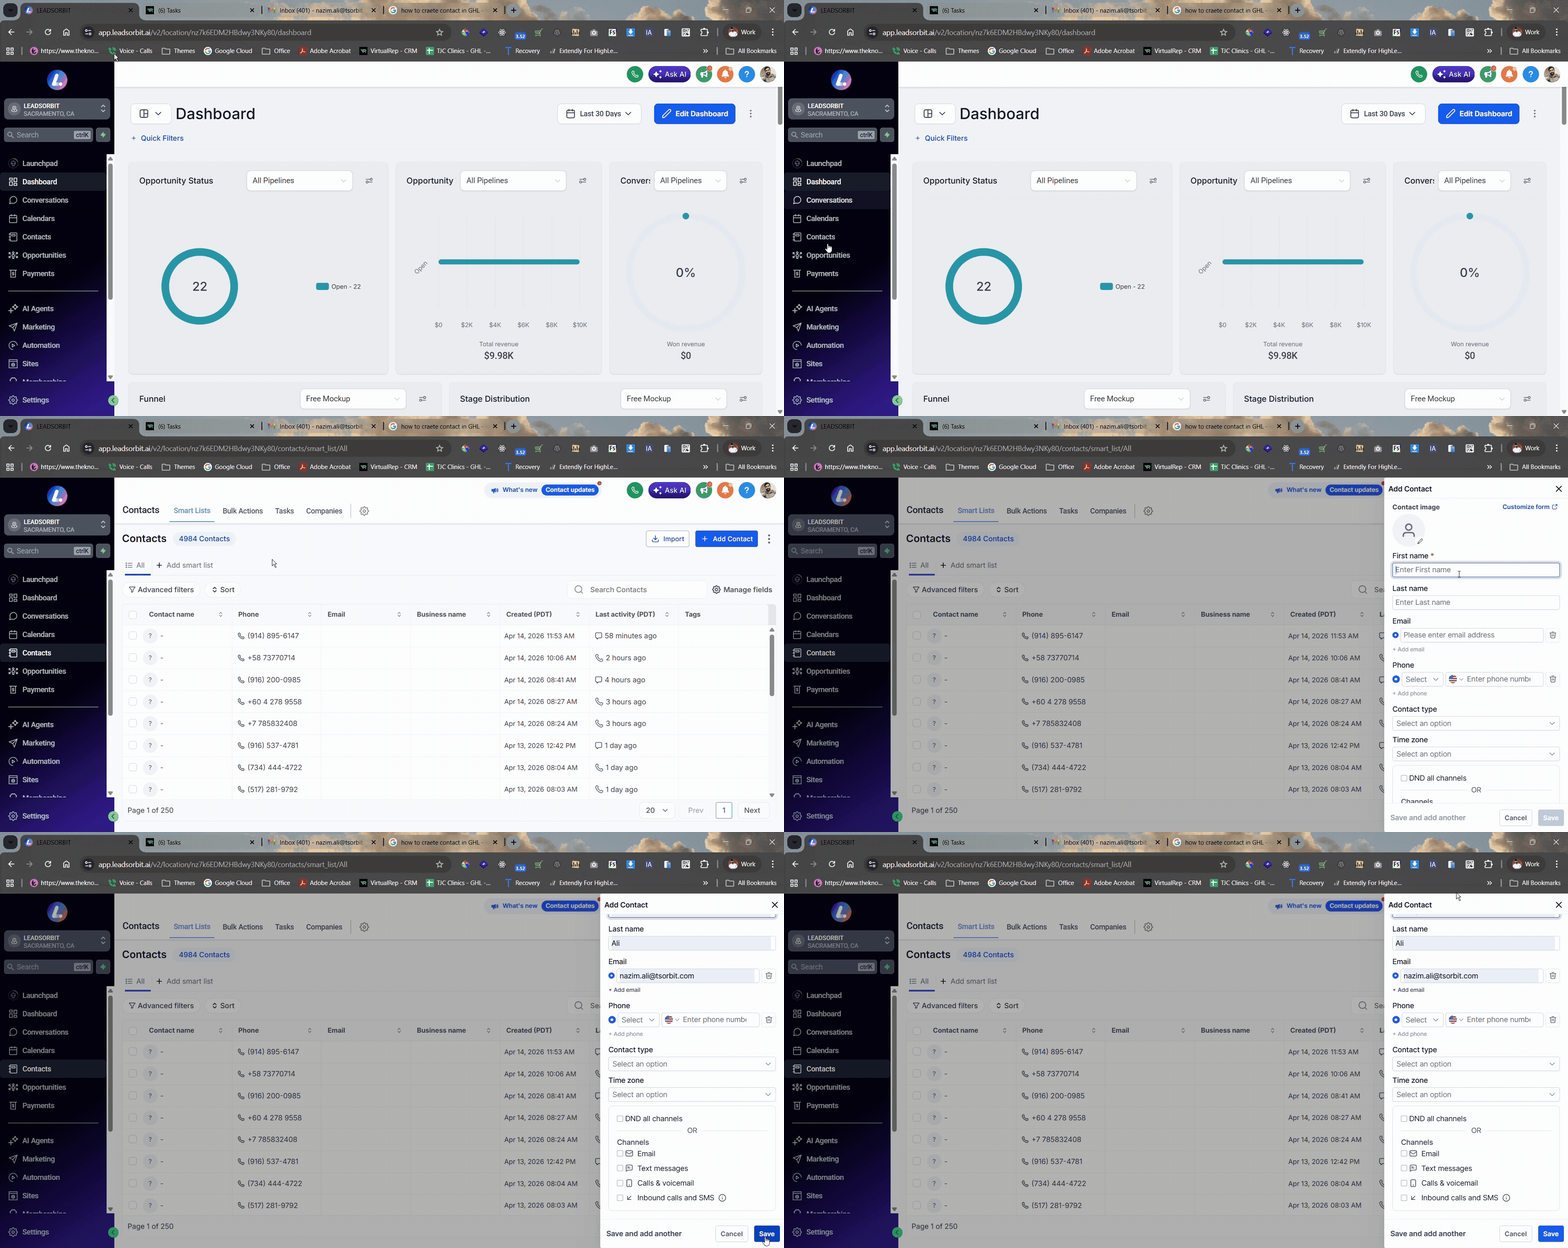
Creating, saving, and sending an invoice inside LEADSORBIT
Track Invoices
You can monitor the status of your invoices and review their payment progress.
- Navigate to Payments → Invoices & Estimates.
- Find the invoice you want to review.
- Check the invoice status, such as Draft, Due, Paid, or Overdue.
- Open the invoice if you need to review its details or send it again.
Reviewing invoice status inside LEADSORBIT
Best Practices
- Connect your payment gateway before creating invoices.
- Review customer and invoice details before sending the invoice.
- Double-check products, pricing, taxes, and payment terms for accuracy.
- Save the invoice before sending it to the customer.
- Review invoice statuses regularly to keep track of outstanding payments.
Common Issues
- Unable to create an invoice: Make sure all required customer and invoice details are completed before saving.
- Invoice not sending: Verify that the customer has a valid email address and that your payment gateway is connected.
- Payment not received: Confirm that the invoice status is Due and follow up with the customer if payment is still pending.
- Invoice status not updating: Refresh the page and allow a few moments for the payment status to synchronize.