
Sales funnels in LEADSORBIT help you guide visitors through a series of pages designed to generate leads, book appointments, or sell products and services. You can create funnels from scratch, use pre-built templates, or build them with AI, then customize and manage them to fit your business needs.
Create a Sales Funnel
Follow these steps to create a new sales funnel in LEADSORBIT.
- Navigate to Sites → Funnels.
- Click New Funnel.
- Choose how you want to create your funnel:
- From Blank
- Funnel AI
- From Templates
- Enter the required details or select a template, depending on the option you choose.
- Customize your funnel pages using the drag-and-drop editor.
- Click Save after making your changes.
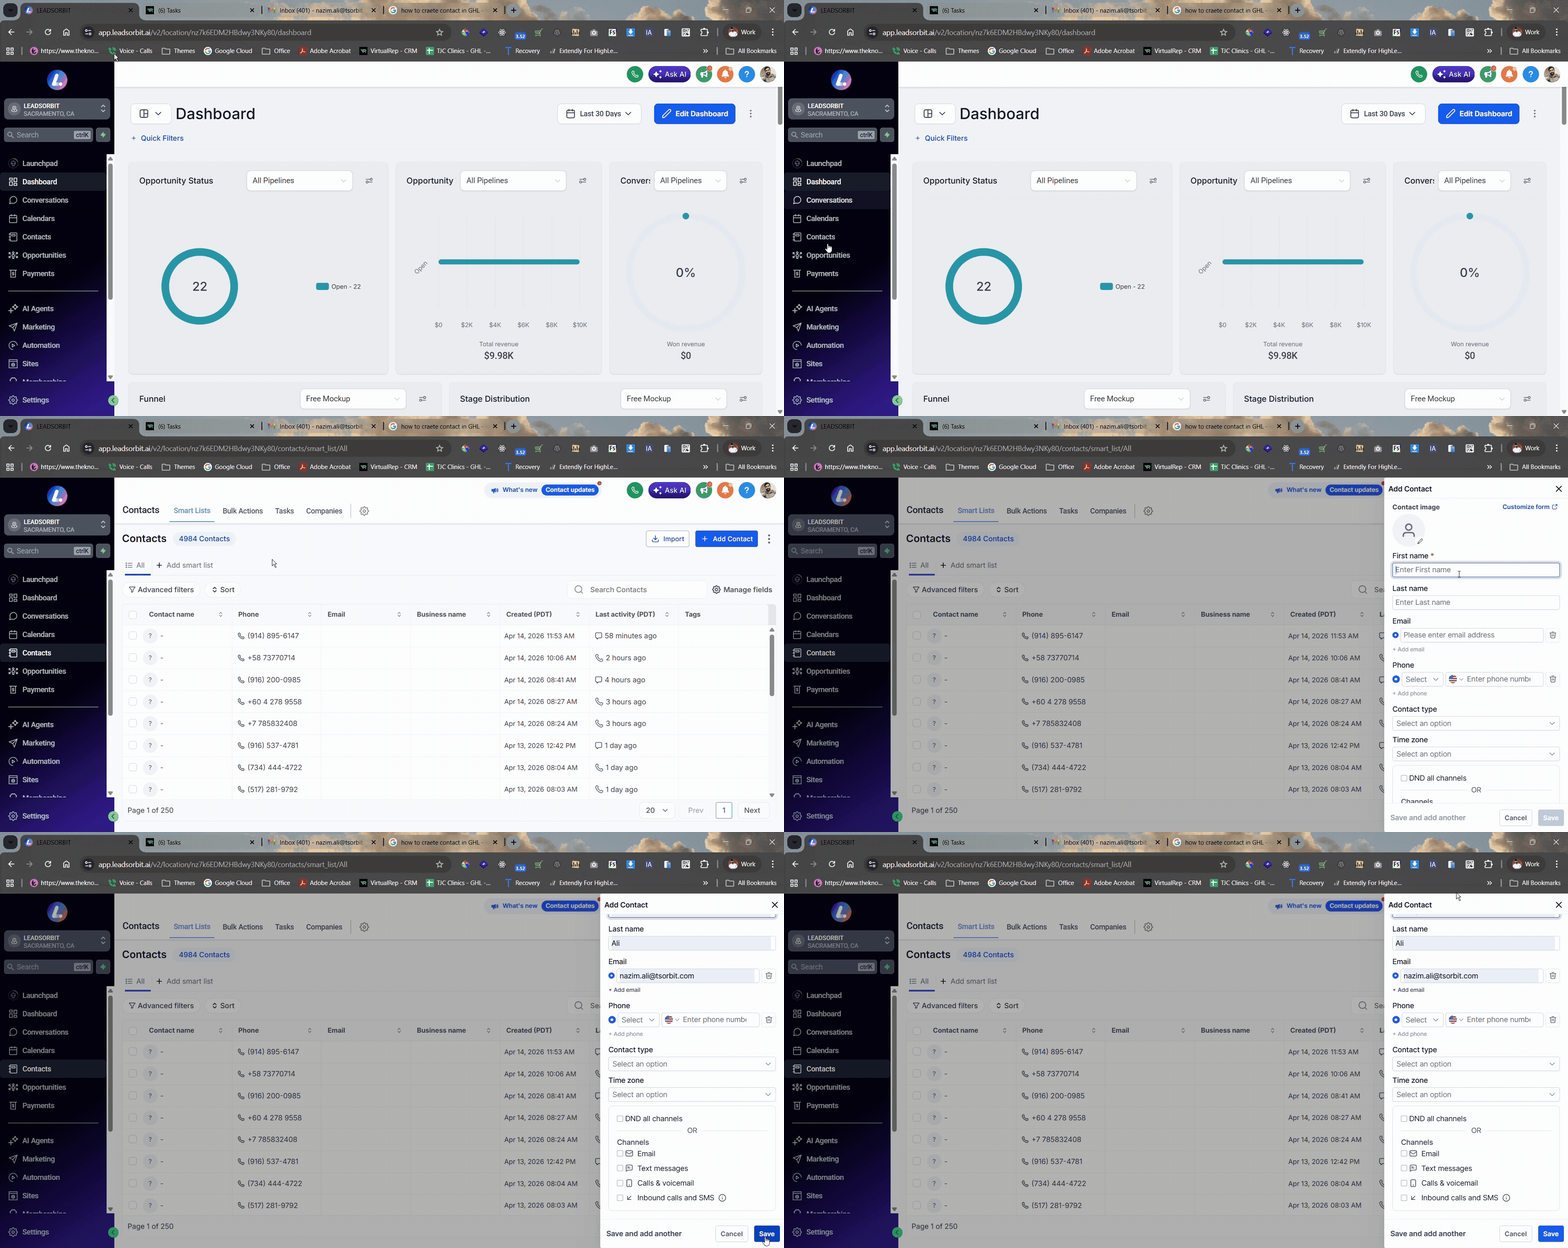
Creating a new sales funnel inside LEADSORBIT
Manage a Sales Funnel
Once your funnel is created, you can edit and manage it at any time.
- Navigate to Sites → Funnels.
- Search and select the funnel you want to manage.
- Edit your funnel pages, settings, or funnel steps as needed.
- Click Save to apply your changes.
Editing and managing a sales funnel inside LEADSORBIT
Best Practices
- Choose a template that matches your business goals to save time.
- Keep your funnel pages simple and focused on one action.
- Preview your funnel before publishing to ensure everything works correctly.
- Save your changes regularly while editing.
- Test your funnel after publishing to confirm all pages and forms work as expected.
Common Issues
- Unable to create a new funnel: Verify that you have the required permissions to create funnels in LEADSORBIT.
- Changes not appearing: Click Save after making changes and refresh the page if needed.
- Template not loading: Check your internet connection and try selecting the template again.
- Funnel not working as expected: Review your funnel pages, forms, and settings to ensure everything is configured correctly.